안녕하세요 상훈입니다.
Vue.js 에서 라우팅을 정리해볼까합니다.
Route, Routing... Laravel 에서는 web.php가 그 역할을 가지고 있습니다.
하지만 저는 Front Framework 부분에서 그 내용을 처리하는 것이 더 옳다고 생각하기 때문에 vue-route에도 신경을 써보았습니다.
처음에는 진짜 정말 ? ? ? 하는 순간에 파일이 휙휙 지나가고 내가 한 게 이게 무엇인가...나는 감자다 이랬는데 여러 번 반복하여 자료를 살펴보고 직접 세팅을 해보았으며 정리를 해보니 대략적인 감을 잡았습니다.
Vue.js 3 에서는 아직 적용해보지 않았고, 현재는 Vue.js 2 만 적용해본 상태입니다.

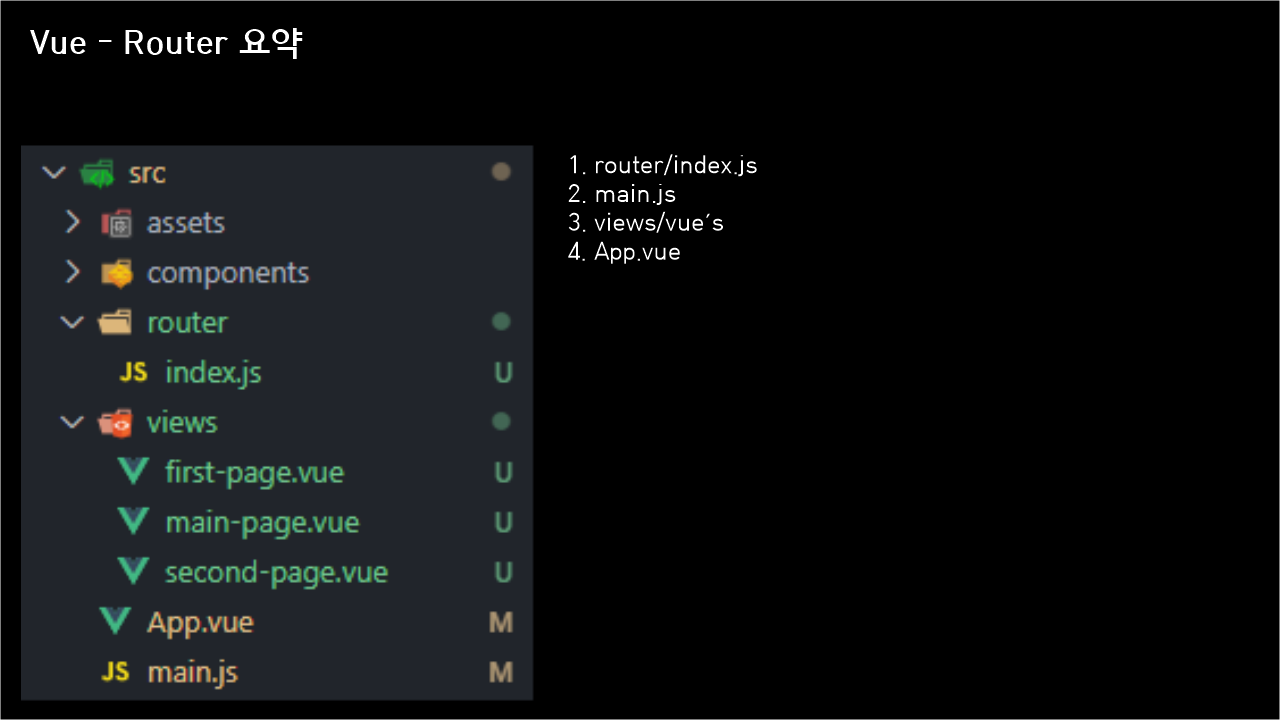
기본 구성은 위와 같습니다.
0. Vue project를 설치하고, vue-router를 설치합니다.
$ vue create '프로젝트명'
$ npm i -S vue-router
$ npm install
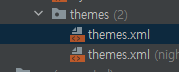
1. router/index.js 생성
2. views/... : vue 파일들 생성
3. main.js 수정
4. App.vue 수정
이렇게 진행하도록 하겠습니다.
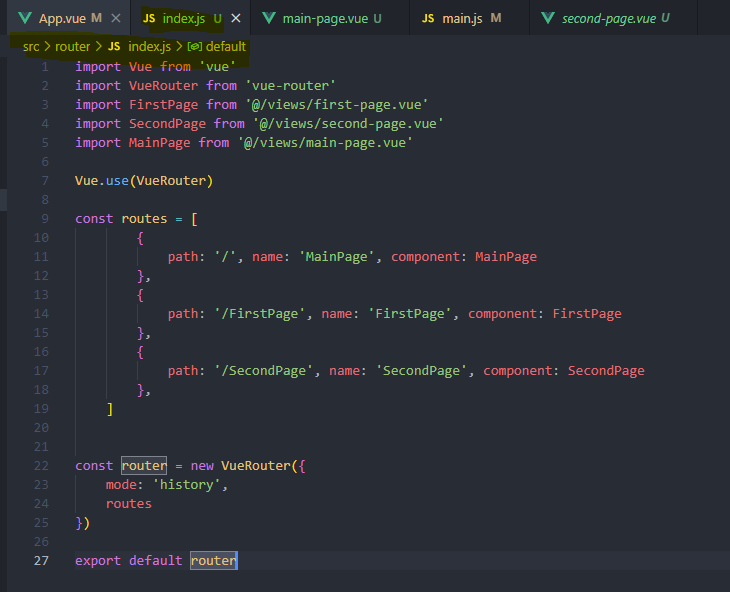
1. router/index.js 생성
router 폴더와 그 안에 index.js를 생성하겠습니다. 그리고 아래와 같은 코드를 작성해줍니다.
import Vue from 'vue'
import VueRouter from 'vue-router'
import FirstPage from '@/views/first-page.vue'
import SecondPage from '@/views/second-page.vue'
import MainPage from '@/views/main-page.vue'

Vue.use(VueRouter)

const routes = [
        {
            path: '/', name: 'MainPage', component: MainPage
        },
        {
            path: '/FirstPage', name: 'FirstPage', component: FirstPage
        },
        {
            path: '/SecondPage', name: 'SecondPage', component: SecondPage
        },
    ]

const router = new VueRouter({
    mode: 'history',
    routes
})
export default router
vue route 관련한 내용을 import.
VueRouter를 사용한다고 선언.
routes의 경로를 직접 지정 저장. => Web.php가 하는 라우팅 역할
router를 출력(?) 내보내기(?) 느낌 실행
2. views/... : vue 파일들 생성
views라는 폴더를 생성해주시고, 그 안에 해당되는 .vue파일들을 생성해줍니다.
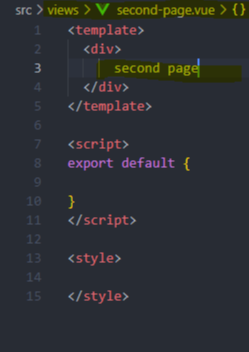

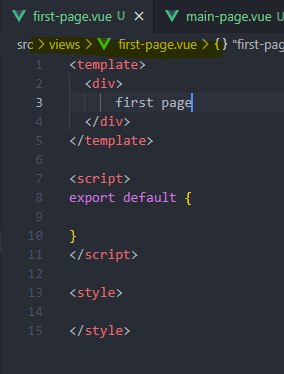
여기서 잘 보시면 파일제목 <-> route 했던부분의 이름이 다른 것을 확인하실 수 있습니다.
바로 snake-case와 camel-case를 지원하는 것인데요, 이에 대해서는 아시리라 생각하고 넘어가겠습니다.
3. main.js 수정
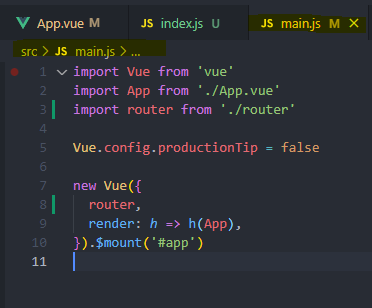
기존에 src/main.js 에 있던 파일을 살짝 수정하도록 하겠습니다.
import Vue from 'vue'
import App from './App.vue'
import router from './router'

Vue.config.productionTip = false

new Vue({
  router,
  render: h => h(App),
}).$mount('#app')
변경된 부분은
1. import router from './router'
2. Vue 객체 내에 router 선언
입니다.
이 곳에서 router를 호출하게 되고, app을 렌더링 시켜줍니다.
4. App.vue 수정
마지막으로 App.vue 수정입니다. 이곳에서는 쓸데없는 기존의 부분들을 모두 걷어내주고, 아래와 같이 작성합니다.
<template>
  <div id="app">
    <h1>Router Start</h1>
    <router-link to="/">Main Page</router-link> |
    <router-link to="/FirstPage">First Page</router-link> |
    <router-link to="/SecondPage">Second Page</router-link>
    <router-view />
  </div>
</template>

<script>

export default {
  name: 'App',
}
</script>

<style>
#app {
  font-family: Avenir, Helvetica, Arial, sans-serif;
  -webkit-font-smoothing: antialiased;
  -moz-osx-font-smoothing: grayscale;
  text-align: center;
  color: #2c3e50;
  margin-top: 60px;
}
</style>
<router-link> </router-link>
<router-view />
이 두 가지만 잘 알고 있으면 됩니다. 나머지는 없애도 됩니다.
<router-link to="경로"> a 태그 라고 생각하세요 </router-link>
router link 는 a 태그와 생김새가 동일합니다. 해당 태그를 클릭하면 (1)의 index.js에 의해 routing되어 해당되는 경로로 이동합니다.
router-view 는 해당되는 view를 출력해줍니다. 대신 contents만 갈아끼워준다는 느낌이 강합니다.
[ F12 개발자모드 ] 를 켜서 확인해주시면 <div id="app"> 내의 태그들만 reload 되기 때문입니다.
이제 $ npm run serve 를 통해 서버를 띄워주시면 아래의 결과가 나옵니다.

위의 내용 중에 오류나 잘못 서술한 부분이 있다면
코멘트 남겨주시면 감사하겠습니다.
뷰 초보자이지만 천천히 꾸준히 나아가려고 합니다. 감사합니다.
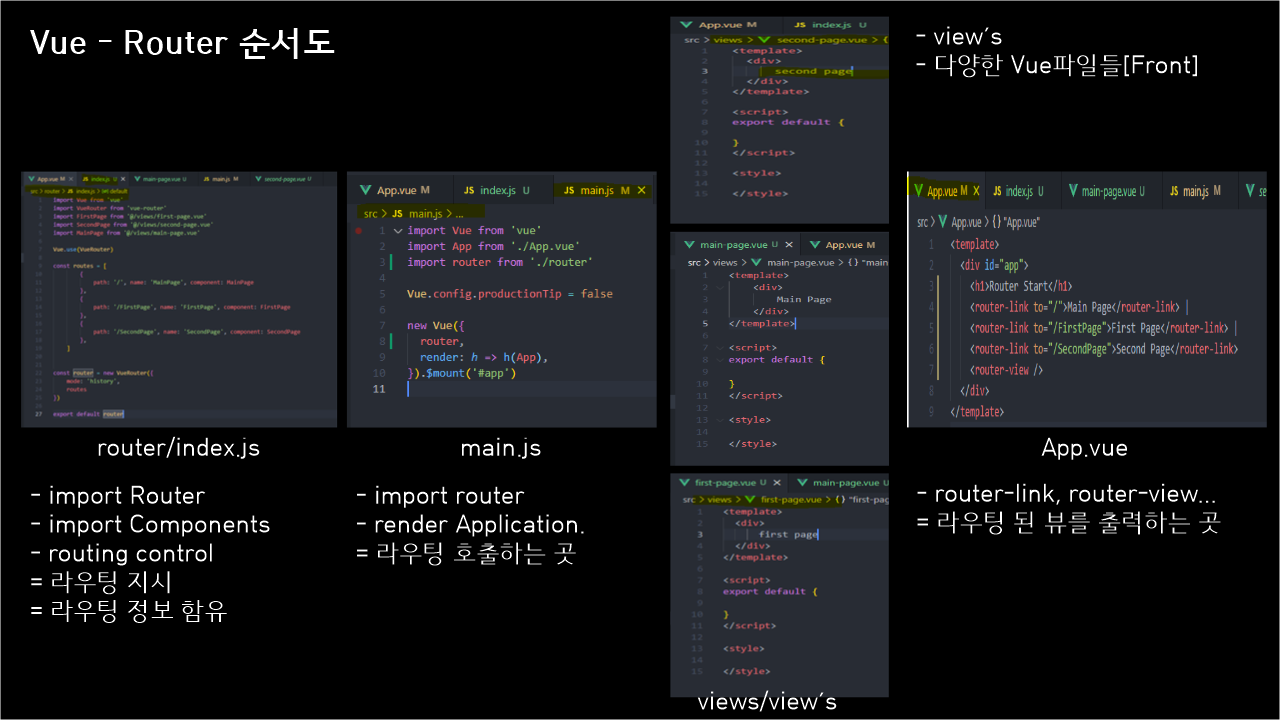
제가 정리한 전체적인 흐름입니다.
강의는 짐코더님의 Vuetify 강좌 중에서 반복적으로 연습해보았습니다.
동적 라우트 매칭 | Vue Router
동적 라우트 매칭 주어진 패턴을 가진 라우트를 동일한 컴포넌트에 매핑해야하는 경우가 자주 있습니다. 예를 들어 모든 사용자에 대해 동일한 레이아웃을 가지지만 하지만 다른 사용자 ID로 렌
router.vuejs.org